How to Build a Message Box in SharePoint
This blog was originally posted on powerusers.microsoft.com and can be accessed here. Read on to find out more in this SharePoint tutorial.
Ever had the need to add a message box in your PowerApp but didn’t know how? Well, here’s how you do it!
You can use Text, Icon or image as an option to click on to show the message box.
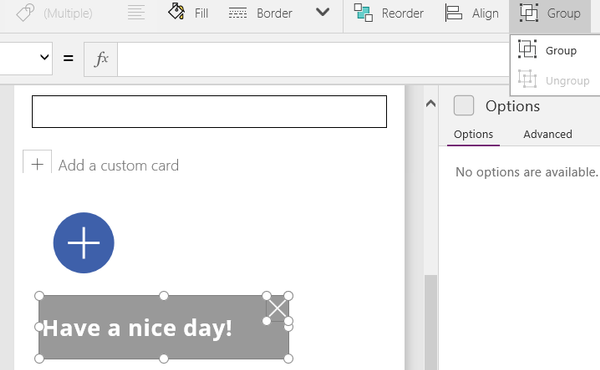
In this example I have grouped both a Circle and Add icon to create the following:

Next, add a text box
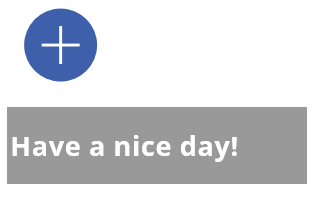
In the text box add ‘X’ i.e. cancel icon. Now go ahead and group the text and cancel icon together.
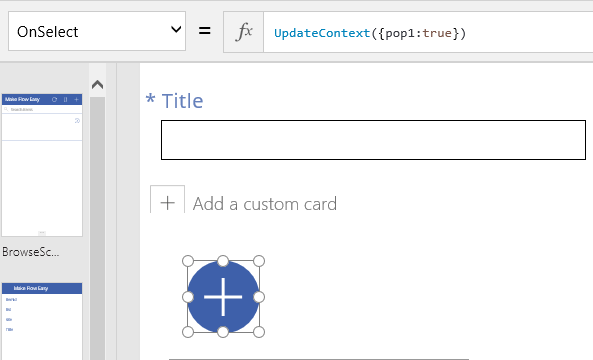
Select the button and update the ‘OnSelect’ function to ‘UpdateContext({pop1:true})
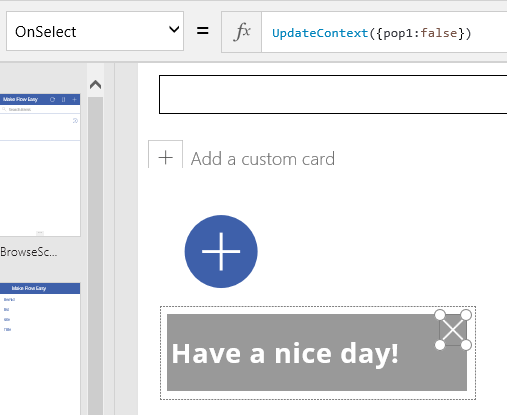
Select the ‘X’ or cancel button and update the ‘OnSelect’ function to ‘UpdateContent({pop1:false})
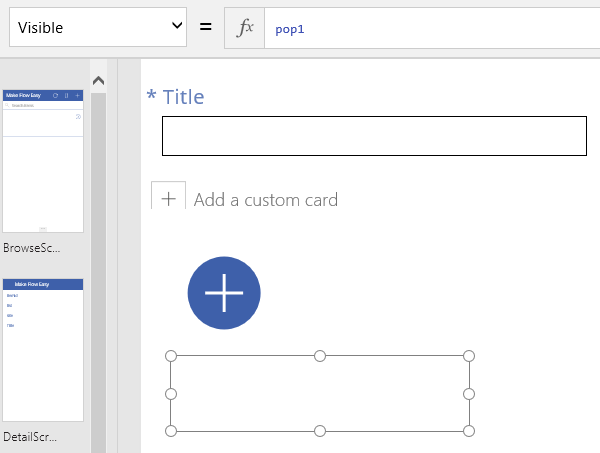
Finally, select the text box group and update the ‘Visible’ function to ‘pop1’. Once you type in pop1 the text group will disappear.
Here’s a short video that walks you through the steps and ends with a demo.
We hope you got value out of this SharePoint tutorial!
About the Author
Daniel Christian | SharePoint MVP
@dchristian19
Daniel Christian has over 11 years of SharePoint experience starting with SharePoint Portal 2003. His area of expertise includes SharePoint On-Premises architecture, maintenance, and administration, SharePoint Online administration. He is a big fan of building little to no-code solutions and reporting. Currently, he is focused on PowerApps and its integration using Gateway with SharePoint Server 2013 and 2016.
Daniel is now an official blog writer of the PowerApps forum. His primary focus is writing detailed blogs to build SharePoint solutions using PowerApps. In addition, he has written over 30 Microsoft TechNet Wiki articles which include SharePoint Server, Project Server, SQL BI, Access Apps and Visio.