Docker on Mac with Homebrew: A Step-by-Step Tutorial
Docker has changed the way developers work. It provides an easy way to safely move code from one machine to another without worrying about dependencies and server versions. It simplifies many operational aspects of running applications. In this post, you’ll learn how to install Docker for Mac OS using Homebrew.
What Are Homebrew and Homebrew Cask?
Don’t know Homebrew yet? It’s a package manager for macOS. It works on the command line and allows you to install software for your Mac. It’s handy and easy to use, which is why it’s also popular.
To install pretty much anything, you can simply type
brew install [x]
and wait a few seconds. For Docker installation, however, you’ll need to use Homebrew Cask.
“What’s Homebrew Cask, and why can’t I install Docker with brew install docker?” you might ask. Let’s clarify…
If you have ever installed any GUI software on Mac the “standard way,” you probably know that it normally requires downloading the package, opening it, and installing by the drag-and-drop method to the Application folder. Homebrew, by default, can only install command-line tools.
Homebrew Cask is a Homebrew extension for installing GUI software on Mac. It means that instead of the standard download and drag-and-drop process, you can use this.
brew cask install [gui_tool]
Docker on Mac is a GUI tool, so you need to use Homebrew Cask for the installation. But let’s take a step back and answer why you’d use Homebrew in the first place.
As I mentioned earlier, the standard way of installing GUI tools (including Docker) requires you to perform a few steps. First, find a Docker package on the internet. Then you download it, and then you open it on your Mac. Only after those steps can you use drag-and-drop to actually install it.
With Homebrew Cask, you can achieve the same result with only one command. So the main reason to use Cask is simplicity. It’s easier and takes less time.
How to Install Homebrew
In case you don’t have Homebrew installed yet, you only need to open a terminal and execute the following command:
/bin/bash -c "$(curl -fsSL https://raw.githubusercontent.com/Homebrew/install/master/install.sh)"
The script explains what it will do and then pauses before it does it.
After installing Homebrew, you’re ready to install Docker.
Installing Docker on Mac With Homebrew Cask
Now that you have Homebrew installed, you can execute the following command to install Docker:
brew cask install docker

How can you validate that the installation finished successfully from the command line? Execute:
docker --version
If the above command doesn’t return the Docker version, you may need to start the Docker daemon first. You can do that by searching for Docker in Spotlight or in the Application folder in Finder and running it.
Whenever Docker’s running, you should also see its icon in the status bar:
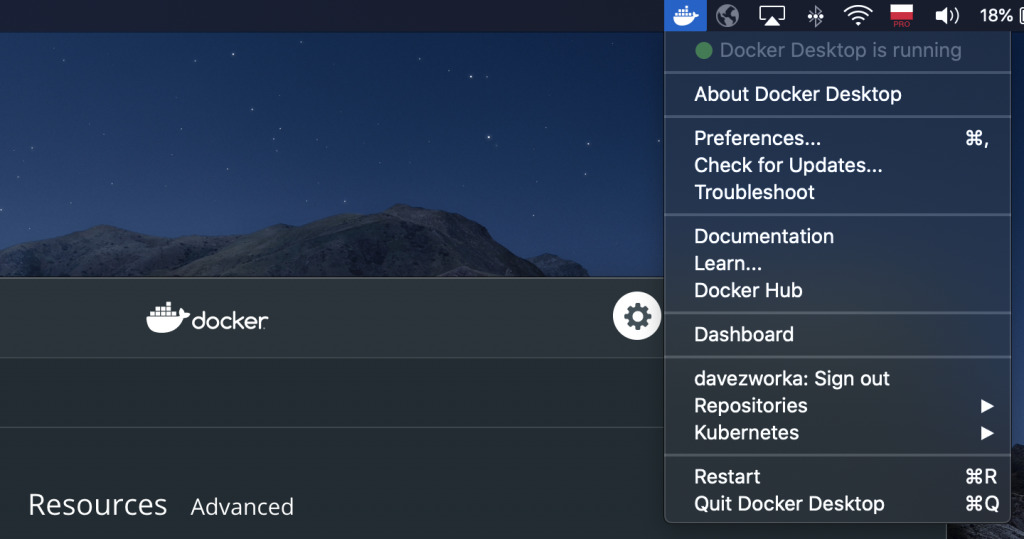
Preferences
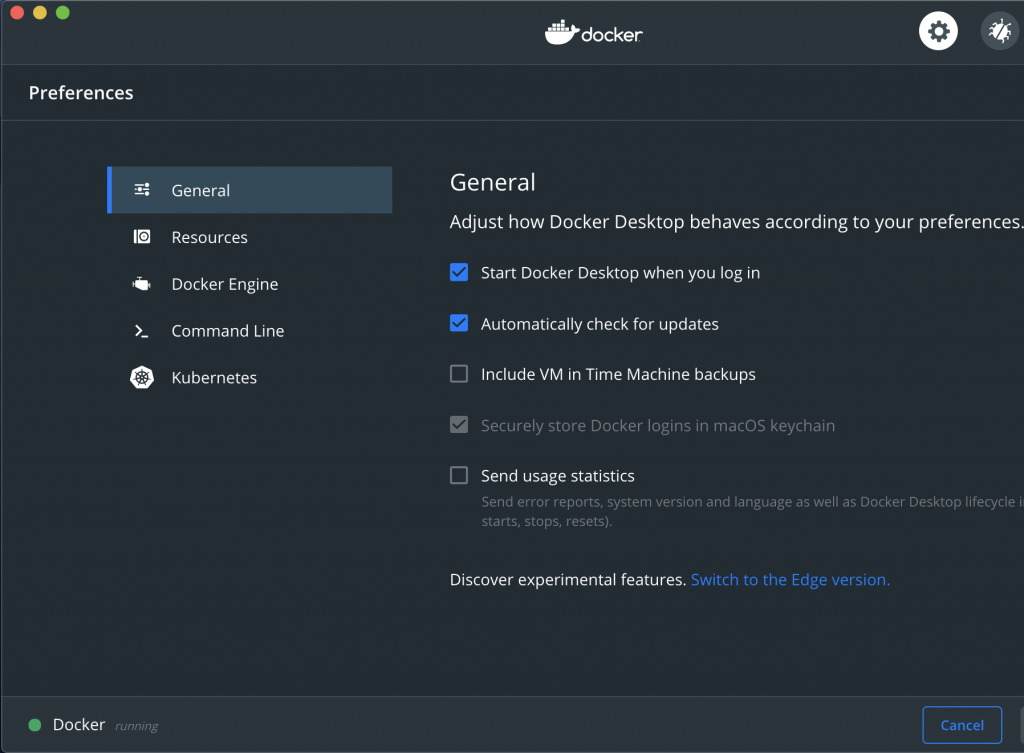
You can start using Docker directly after installation, but you can also customize it to your wishes. If you click the Docker icon in the status bar and go to Preferences, you’ll be able to choose whether Docker should start automatically with system startup.
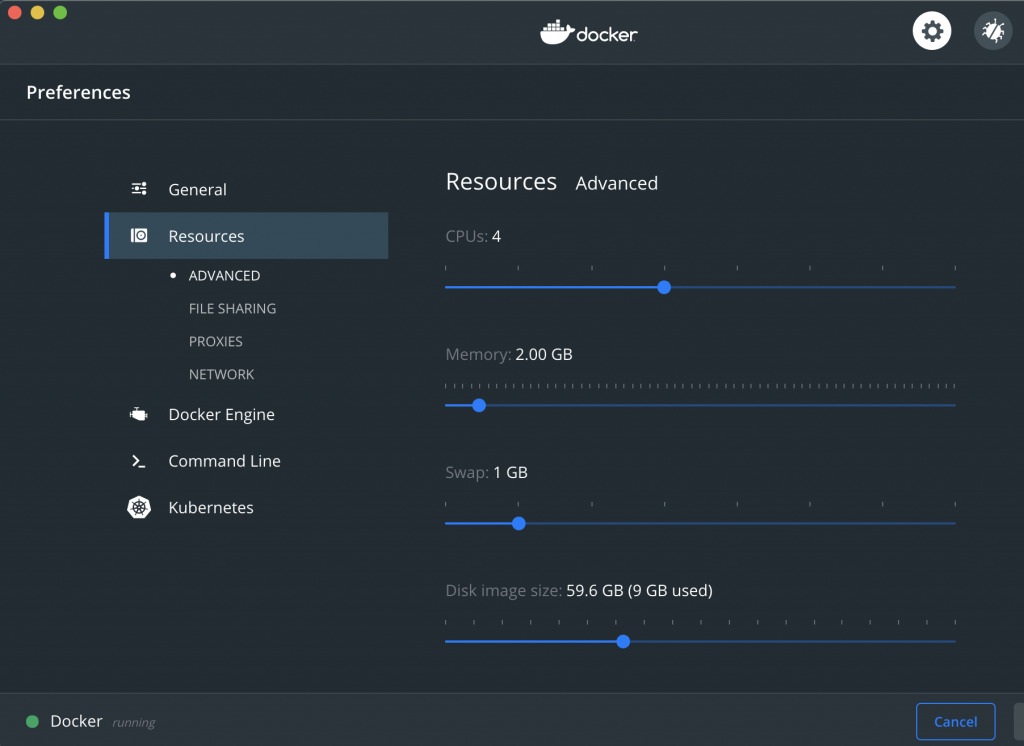
Next, if you go to the Resources section, you’ll be able to customize how much CPU, RAM memory, swap disk space, and disk size Docker will be able to use. Again, you may want to customize it depending on your needs.
If you use Docker for testing only, then you may lower the Docker resource usage. On the other hand, if you use it extensively for many containers at the same time, it makes sense for you to assign more resources for Docker.
Using Docker on Mac with Homebrew
Now that you have Docker installed and running, let’s discuss what you can do with it. To simply run a container, you can execute:
docker run [image_name]
Docker will first try to find a [image_name]:latest. If you don’t specify a Docker image version when executing the docker run command, then Docker will default to the latest version. Since you just installed Docker and don’t have any images on your Mac, Docker won’t find an image there. It will then try to find one on DockerHub, the official Docker registry. If Docker finds the image version there, it will download it and run it for you.
Running an Example
Let’s see an example:
$ docker run hello-world

Unable to find image 'hello-world:latest' locally
latest: Pulling from library/hello-world
0e03bdcc26d7: Pull complete
Digest:
sha256:49a1c8800c94df04e9658809b006fd8a686cab8028d33cfba2cc049724254202
Status: Downloaded newer image for hello-world:latest

Hello from Docker!
This message shows that your installation appears to be working correctly.

To generate this message, Docker took the following steps:
-
The Docker client contacted the Docker daemon.
-
The Docker daemon pulled the "hello-world" image from the Docker Hub.(amd64)
-
The Docker daemon created a new container from that image which runs the executable that produces the output you are currently reading.
-
The Docker daemon streamed that output to the Docker client, which sent it to your terminal.
To try something more ambitious, you can run an Ubuntu container with:
$ docker run -it ubuntu bash

Share images, automate workflows, and more with a free Docker ID:
https://hub.docker.com/

For more examples and ideas, visit:
https://docs.docker.com/get-started/
Congratulations! You just started your first Docker container on your Mac.
As you can see in the output, the hello-world container also nicely explains step by step what happened.
If you try to run the same command again, Docker will check again if hello-world is available locally. Since you just downloaded it seconds ago, there’s no need to download it again. Therefore, Docker will run a new container from a local copy of the hello-world image.
Making the Console Interactive
You may have noticed that you ran the container, but you couldn’t do anything with it. It did its job (printed a welcome message) and exited.
To get the console access to the inside of the container, you need to execute a docker run command with -it parameter. Doing this instructs Docker to allocate a pseudo-TTY connected to the container’s stdin, which means creating an interactive Bash shell in the container.
For example, to run an Ubuntu container and get access to Bash inside that container, you need to run:
 ~ docker run -it ubuntu
root@a1829fd97a06:/# cat /etc/os-release
NAME="Ubuntu"
VERSION="20.04 LTS (Focal Fossa)"
ID=ubuntu
ID_LIKE=debian
PRETTY_NAME="Ubuntu 20.04 LTS"
VERSION_ID="20.04"
HOME_URL="https://www.ubuntu.com/"
SUPPORT_URL="https://help.ubuntu.com/"
BUG_REPORT_URL="https://bugs.launchpad.net/ubuntu/"
PRIVACY_POLICY_URL="https://www.ubuntu.com/legal/terms-and-policies/privacy-policy"
VERSION_CODENAME=focal
UBUNTU_CODENAME=focal
Now let’s look at another Docker functionality.
Port Forwarding
Ability to get access into the shell inside the container and port forwarding are the two most commonly used Docker functionalities. Port forwarding allows you to access applications running inside the container through your host machine’s IP address (or localhost address).
For example, to run a NGINX server inside a container and expose it on port 8080 of your local machine, you need to pass -p 8080:80 parameter as follows:
docker run -d -p 8080:80 nginx
Then, you can access an application running on port 80 inside the container by making an HTTP call to localhost:8080.
Summary
In this post, you learned what Homebrew and Homebrew Cask are and how to use the latter to install Docker on your Mac. I explained some customization options and showed you a basic usage of Docker on Mac.
We covered only very basic commands, but Docker offers much more than that. If you want to learn more about Docker, this Docker containerization boot camp is a great way to do it. It covers in detail basics like these:
- How Docker works
- How to use it
- How and where to store images
This tutorial from Cprime also offers more advanced topics, including:
- Continuous integration
- Orchestration
If you want, you can register here. Best of luck to you as you learn more about Docker, Homebrew, and Homebrew Cask!
Docker Containerization Boot Camp
View Course